5 Pumpkin Apple Dog Treats for Better Digestion
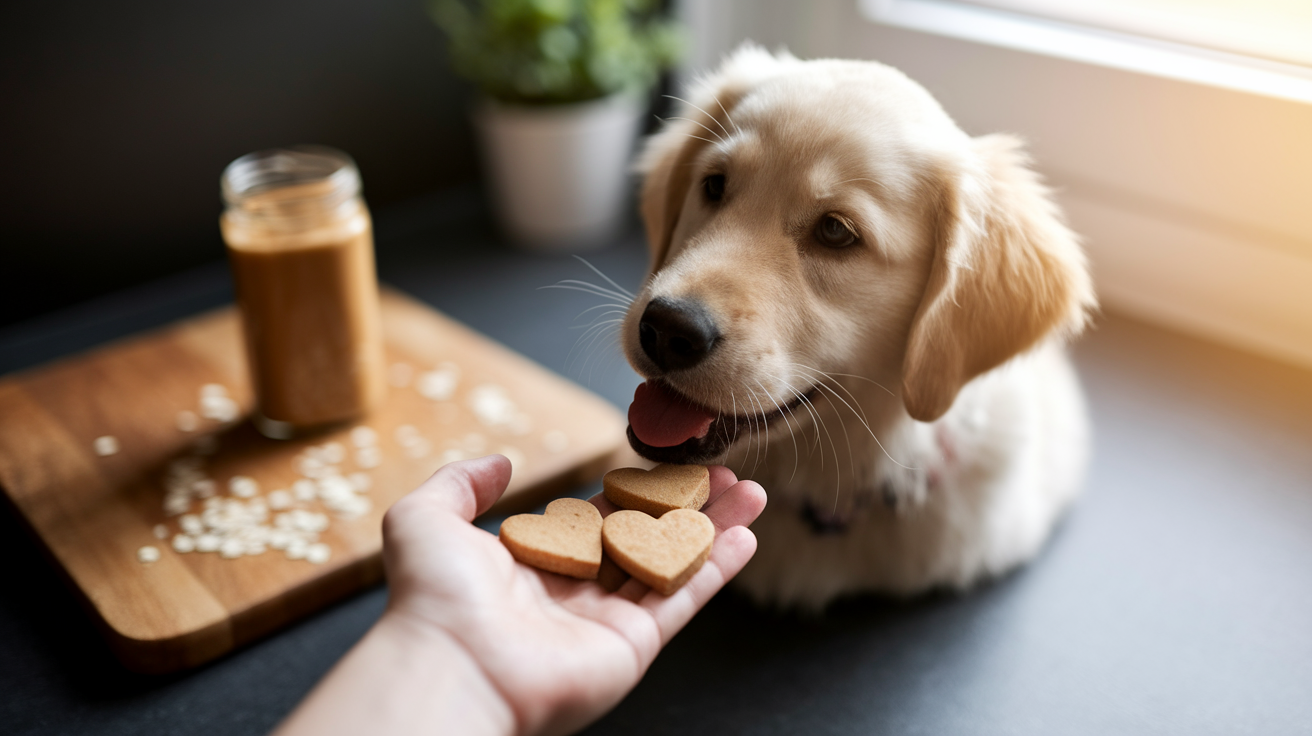
Your dog deserves treats that taste amazing *and* support their health. That’s where pumpkin and apple come in—these two fall favorites create the ultimate power duo for canine digestion.
Store-bought treats? They’re loaded with hidden ingredients you can’t pronounce, preservatives that do nothing for your pup’s health, and price tags that make your wallet cry. Plus, you have zero control over quality or freshness.
Here’s what you’ll discover in this guide: five proven, easy-to-make recipes that naturally support your dog’s gut health.
We’re talking simple ingredients, straightforward instructions, and treats your furry friend will absolutely devour. The timing couldn’t be better either—fall brings fresh pumpkin and apples at their most affordable and accessible.
Whether your dog struggles with occasional tummy troubles or you simply want to give them the best nutrition possible, these homemade treats deliver real results. Let’s get baking!
Why Pumpkin and Apple Are Essential for Your Dog’s Digestion
The Amazing Benefits of Pumpkin for Dogs
Pumpkin isn’t just a seasonal decoration—it’s a digestive powerhouse for your pup. The high fiber content works like magic, regulating digestion whether your dog deals with diarrhea or constipation. That’s right, this versatile ingredient helps with *both* ends of the spectrum.
Beyond fiber, pumpkin packs vitamins A, C, and E that boost your dog’s immune system. A stronger immune system means fewer vet visits and a happier, healthier companion. The natural prebiotics in pumpkin feed the healthy gut bacteria your dog needs for optimal digestion.
Research shows that just a small amount of pumpkin can make a significant difference in your dog’s digestive regularity. Veterinarians consistently recommend it as a natural, safe solution for common tummy issues.
How Apples Support Digestive Health
Apples bring their own impressive benefits to the table. The pectin in apples acts as a natural digestive aid, soothing upset stomachs and promoting healthy bowel movements. This soluble fiber dissolves in water, creating a gel-like substance that helps everything move smoothly through your dog’s system.
These crunchy fruits are naturally low in fat and protein, making them incredibly easy on sensitive tummies. Dogs with food sensitivities often tolerate apples beautifully when other treats cause problems.
The antioxidants in apples reduce inflammation throughout your dog’s body, including their digestive tract. Less inflammation means better nutrient absorption and overall wellness that you’ll notice in your dog’s energy levels and coat shine.
The Perfect Pairing: Why These Two Ingredients Work Together
Combining pumpkin and apple creates balanced digestive support that neither ingredient achieves alone. Pumpkin provides insoluble fiber that adds bulk, while apples contribute soluble fiber that soothes. Together, they create the perfect environment for healthy digestion.
The natural sweetness of both ingredients means you don’t need artificial flavors or added sugars. Your dog gets treats that taste incredible while supporting their health—that’s a win-win situation.
Both ingredients are completely safe and vet-approved for regular feeding. You can feel confident offering these treats daily without worrying about harmful side effects or long-term health concerns.
Before You Start: Simple Tips for Success
Choosing the Right Ingredients
Let’s talk pumpkin first. You need pure pumpkin puree—not pumpkin pie filling. This distinction is critical. Pie filling contains added sugars, spices, and ingredients that can upset your dog’s stomach or even be harmful. Check the label carefully. The ingredient list should say one thing: pumpkin.
For apples, stick with varieties like Fuji, Gala, or Granny Smith. Remove the seeds and core completely—apple seeds contain trace amounts of cyanide that, while unlikely to cause serious harm in small quantities, you definitely don’t want in your dog’s treats. Peel the apples if your dog has a sensitive stomach, though the skin adds extra fiber for most dogs.
Flour options give you flexibility based on your dog’s dietary needs. Whole wheat flour works perfectly for most dogs and creates a nice, sturdy texture. Oat flour is gentler on sensitive stomachs and naturally gluten-free. Coconut flour works for grain-free diets but absorbs more liquid, so you’ll need to adjust quantities. Start with the recipes as written, then experiment once you’re comfortable.
Essential Kitchen Tools You’ll Need
You probably already own everything required. Grab mixing bowls, measuring cups and spoons, a baking sheet, and parchment paper or a silicone baking mat. Cookie cutters in fun shapes make the process more enjoyable, though a knife or pizza cutter works fine for simple squares.
Storage solutions matter for keeping treats fresh longer. Airtight containers prevent moisture and maintain texture. Mason jars look attractive on your counter and seal tightly. For freezer storage, use freezer-safe bags or containers, removing as much air as possible.
Time-saving tip: Batch baking is your friend. Double or triple recipes and freeze extras. Most of these treats freeze beautifully for up to three months. Pull out a week’s worth at a time, thaw in the refrigerator, and you’ve got fresh treats ready to go.
Safety First: Quick Guidelines
Portion sizes depend on your dog’s weight. Small dogs (under 20 pounds) should get 1-2 small treats daily. Medium dogs (20-50 pounds) can handle 2-4 treats. Large dogs (over 50 pounds) can enjoy 4-6 treats. Remember, treats should never exceed 10% of your dog’s daily caloric intake.
Never include xylitol (an artificial sweetener that’s toxic to dogs), raisins, grapes, chocolate, onions, garlic, or excessive spices. Cinnamon in small amounts is safe and beneficial, but skip nutmeg entirely—it’s toxic to dogs.
Introduce new treats gradually. Start with half a treat and watch for any digestive upset over 24 hours. Some dogs need time to adjust to new ingredients, even healthy ones. Slow and steady prevents tummy troubles and helps you identify any sensitivities.
5 Proven Pumpkin Apple Dog Treat Recipes
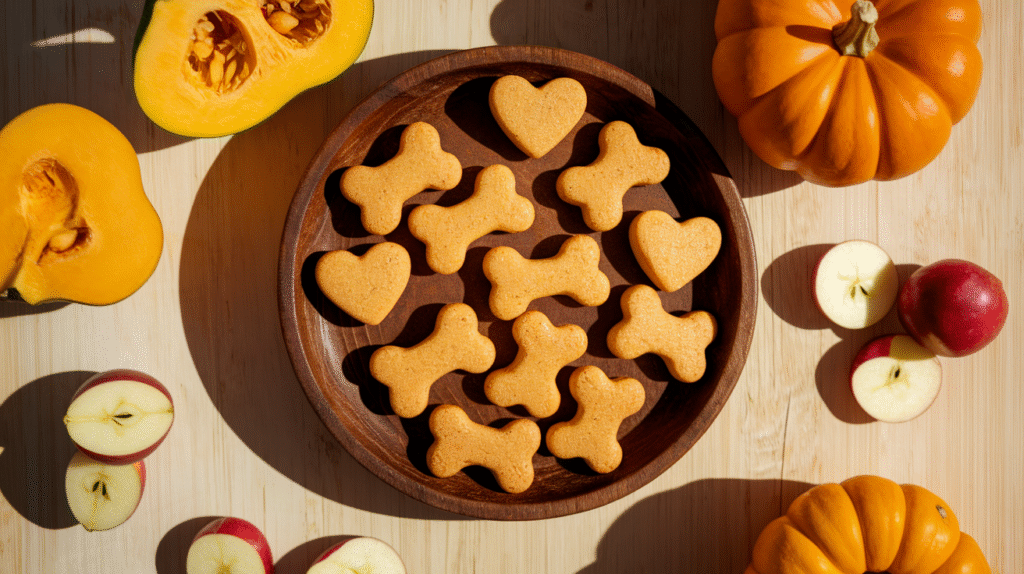
Recipe 1: Classic 5-Ingredient Pumpkin Apple Bites
This recipe is perfect for beginners and delivers consistent results every time.
Ingredients: – 1 cup pure pumpkin puree – 1/2 cup unsweetened applesauce – 2 1/2 cups whole wheat flour – 1 large egg – 1/2 teaspoon cinnamon
Instructions:
Preheat your oven to 350°F and line a baking sheet with parchment paper. Mix the pumpkin puree, applesauce, and egg in a large bowl until well combined. Add the cinnamon and stir thoroughly.
Gradually add the flour, one cup at a time, mixing until you have a stiff dough. If the dough feels sticky, add more flour a tablespoon at a time. If it’s too dry and crumbly, add water one teaspoon at a time.
Roll the dough to 1/4-inch thickness on a floured surface. Cut into shapes using cookie cutters or slice into squares with a knife. Place treats on your prepared baking sheet—they don’t spread, so you can position them close together.
Bake for 25-30 minutes for crunchy treats, or 20-22 minutes if your dog prefers softer texture. The treats should feel firm to the touch and have lightly browned edges. Let them cool completely on the baking sheet before storing.
These treats stay fresh in an airtight container in the refrigerator for up to two weeks.
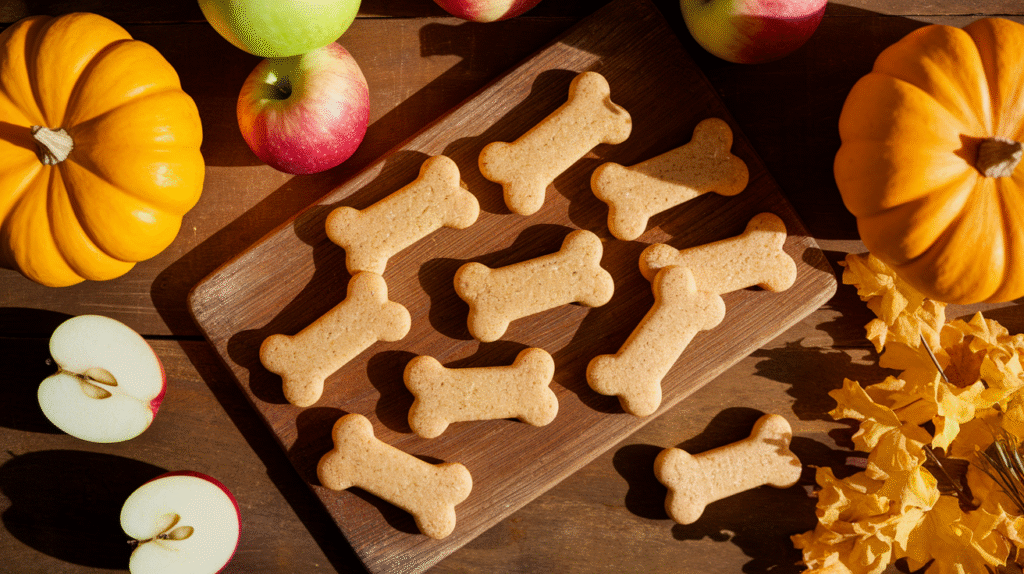
Recipe 2: 2-Ingredient Pumpkin Apple Quick Treats
When you’re short on time but your pup needs treats, this recipe saves the day.
Ingredients: – 1 cup pure pumpkin puree – 1 1/2 cups oat flour (or blend rolled oats into flour)
Instructions:
Preheat your oven to 325°F. Mix the pumpkin and oat flour until you have a thick, workable dough. The mixture should hold together when squeezed but not feel wet.
Scoop small portions (about a teaspoon each) onto a parchment-lined baking sheet. Flatten slightly with a fork. These won’t spread during baking, so the shape you create is the shape you’ll get.
Bake for 25 minutes, then flip each treat and bake for another 10-15 minutes. This double-baking method creates a crunchier texture that lasts longer.
Perfect for dogs with food sensitivities, this recipe eliminates eggs, dairy, and wheat. The oat flour provides gentle fiber that’s easy on sensitive stomachs. You can prepare these treats in under 30 minutes from start to finish—no complicated steps or hard-to-find ingredients required.
Recipe 3: Pumpkin Apple Heart-Shaped Gummies
These chewy treats offer a fun texture dogs absolutely love, plus a joint health bonus from the gelatin.
Ingredients: – 1/2 cup pure pumpkin puree – 1/2 cup unsweetened applesauce – 3 tablespoons unflavored gelatin powder – 1/4 cup water
Instructions:
Combine the pumpkin and applesauce in a saucepan over medium heat. Stir constantly until the mixture is warm but not boiling.
In a separate bowl, sprinkle the gelatin over the water and let it bloom for 2-3 minutes. Add the bloomed gelatin to the warm pumpkin mixture, stirring vigorously until completely dissolved with no lumps.
Pour the mixture into silicone molds—heart shapes, bones, paws, whatever makes you smile. If you don’t have molds, pour into a shallow pan and cut into squares after setting.
Refrigerate for at least 2 hours until firm. Pop the gummies out of the molds and store in an airtight container in the refrigerator for up to one week.
The gelatin provides glucosamine and collagen that support joint health, making these treats especially beneficial for senior dogs or active pups who need extra joint support. The chewy texture also helps clean teeth as your dog chews.
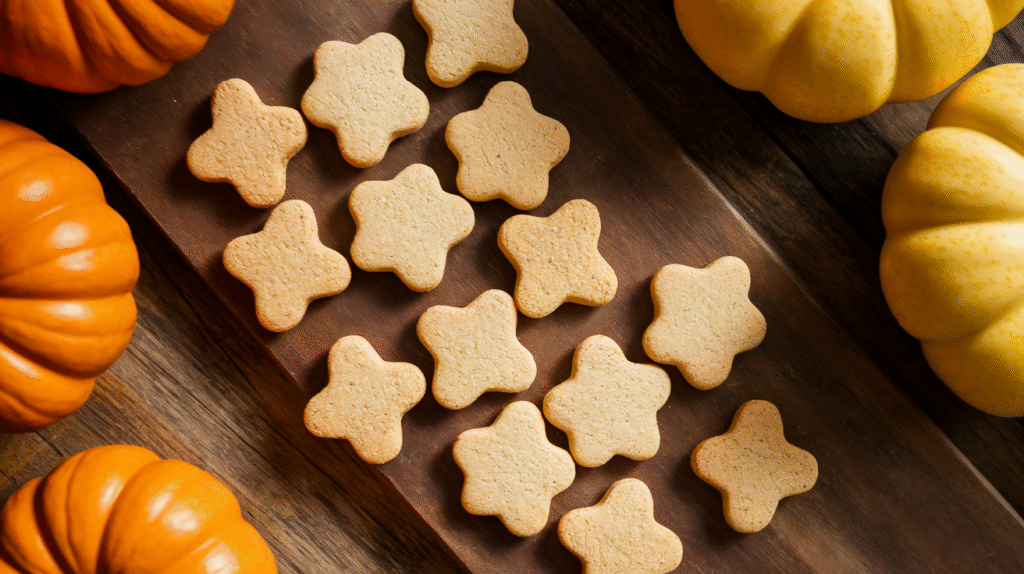
Recipe 4: Grain-Free Pumpkin Apple Cookies
Ideal for dogs with wheat allergies or sensitivities, these cookies prove grain-free doesn’t mean flavor-free.
Ingredients: – 1 cup pure pumpkin puree – 1/2 cup finely diced apple (peeled and cored) – 1 cup coconut flour – 1/4 cup coconut oil, melted – 1 large egg
Instructions:
Preheat your oven to 325°F. Mix the pumpkin, diced apple, coconut oil, and egg until smooth. Coconut flour absorbs liquid like crazy, so add it gradually, stirring well after each addition.
The dough should be thick and slightly sticky but hold together when formed. If it’s too wet, add more coconut flour one tablespoon at a time.
Form small balls (about 1 tablespoon each) and place on a parchment-lined baking sheet. Flatten each ball with your palm or the bottom of a glass to about 1/4-inch thickness.
Bake for 25-30 minutes until the edges are golden brown and the centers feel firm. These cookies crisp up as they cool, so don’t worry if they seem slightly soft when you first remove them from the oven.
Coconut flour creates a naturally crispy texture without grains. Store these cookies in an airtight container for up to 10 days at room temperature, or refrigerate for up to three weeks.
Recipe 5: Soft-Baked Pumpkin Applesauce Training Treats
Bite-sized and extra soft, these treats work perfectly for training sessions or senior dogs who need gentler textures.
Ingredients: – 3/4 cup pure pumpkin puree – 1/4 cup unsweetened applesauce – 1 cup oat flour – 1/2 cup rice flour – 1 tablespoon honey (optional)
Instructions:
Preheat your oven to 300°F—the lower temperature keeps these treats soft. Mix all ingredients until you have a smooth, slightly sticky dough.
Transfer the dough to a piping bag or a plastic bag with the corner snipped off. Pipe small dots (about the size of a chocolate chip) onto a parchment-lined baking sheet. Keep them small for training purposes—you want your dog to eat them quickly and stay focused.
Bake for 20 minutes. The treats should feel set but remain soft. They won’t brown much due to the lower temperature.
Let cool completely before storing in the refrigerator. These treats stay soft for up to one week refrigerated, or freeze for up to two months.
The soft texture makes these perfect for puppies learning commands or senior dogs with dental issues. Cut them even smaller if needed using kitchen scissors while they’re still slightly warm.
Storage, Serving, and Maximizing Digestive Benefits
How to Store Your Homemade Treats Properly
Refrigerator storage works best for most of these recipes. Place completely cooled treats in an airtight container and store for up to two weeks. The pumpkin and apple contain moisture that can lead to mold if left at room temperature too long.
Freezer-friendly methods extend your treats’ life to three months. Spread treats in a single layer on a baking sheet and freeze until solid (about 2 hours). Then transfer to freezer bags or containers. This prevents them from sticking together, so you can grab just what you need.
Watch for signs your treats have gone bad. Visible mold, off smells, or slimy texture mean it’s time to toss them. When in doubt, throw it out. Your dog’s health isn’t worth the risk of spoiled treats.
Pro tip: Label your containers with the date you made the treats. This simple step helps you track freshness and use older batches first.
Serving Sizes and Frequency for Optimal Results
Small dogs (under 20 pounds) benefit from 1-2 small treats daily. These little pups don’t need much to see digestive improvements. Watch their weight and adjust accordingly.
Medium dogs (20-50 pounds) can handle 2-4 treats per day. Split them between morning and evening, or use them as training rewards throughout the day.
Large dogs (over 50 pounds) can enjoy 4-6 treats daily. Larger breeds often have more sensitive stomachs, so these digestive-supporting treats become especially valuable.
The best times to offer treats? Morning treats help start the day with digestive support. Evening treats can soothe any tummy troubles from dinner. Training sessions throughout the day work perfectly too—your dog gets rewards that support their health while learning new commands.
Balance treats with regular meals to maintain a healthy weight. Reduce your dog’s regular food slightly if you’re giving multiple treats daily. The goal is supporting health, not adding unnecessary calories.
Monitoring Your Dog’s Digestive Health
Positive signs the treats are working include regular, well-formed bowel movements, increased energy levels, reduced gas, and improved coat shine. Many dog owners report seeing results within 3-5 days of introducing these treats.
Adjust quantities if you notice loose stools—that means you’re giving too much too fast. Cut back to half the amount and gradually increase over two weeks.
Some dogs need ingredient adjustments. If your pup shows signs of sensitivity (itching, excessive licking, or digestive upset), try swapping the flour type or eliminating the egg.
Combine these treats with other digestive health practices for maximum benefits. Ensure your dog drinks plenty of fresh water throughout the day. Regular exercise keeps everything moving through their system properly. Consider adding a veterinarian-approved probiotic to their routine for extra gut health support.
Keep a simple journal tracking your dog’s treat intake and any digestive changes. This information proves invaluable during vet visits and helps you identify what works best for your specific pup.
Your Dog Deserves the Best
Pumpkin and apple are proven, natural ingredients that deliver real digestive benefits for your dog. These five easy recipes offer variety while addressing your pup’s specific needs—whether that’s grain-free options, training-sized treats, or fun chewy gummies.
Making homemade treats gives you complete control over quality and ingredients. No more wondering about mystery additives or questioning whether treats are truly helping your dog. You know exactly what’s going into your pup’s body, and you can adjust recipes based on their individual needs and preferences.
Start with the simple 2-ingredient recipe if you’re new to making dog treats. It’s practically foolproof and requires minimal time and effort. Once you see how easy it is (and how much your dog loves them), you’ll want to try the other recipes too.
Observe your pup’s response over the first week. Watch for improved digestion, increased energy, and that enthusiastic tail wag when you reach for the treat container. Adjust recipes to their preferences—some dogs prefer crunchy treats, others love soft and chewy.
Fall is the perfect time to take advantage of seasonal pumpkin and apple availability. Prices drop, quality increases, and you can stock up on fresh ingredients to batch-bake treats for months.
Your furry friend’s improved digestion, better overall health, and enthusiastic tail wags will be all the thanks you need. There’s something incredibly satisfying about supporting your dog’s wellness with treats you made yourself. You’re not just giving them food—you’re giving them love, care, and better health with every bite.
Ready to get started? Pick your first recipe, gather your ingredients, and let’s bake some treats your dog will absolutely love. Your pup is counting on you to give them the best, and now you have everything you need to deliver exactly that.
Share your success stories and favorite recipes with fellow dog lovers! Which recipe will you try first? Let us know in the comments below, and don’t forget to snap a photo of your happy pup enjoying their homemade treats.