
7 Easy Homemade Dog Treats for Happy, Healthy Pups
There’s something incredibly special about watching your dog’s eyes light up when you offer them a treat you made with your own hands.
While store-bought treats line the shelves of every pet store, more and more dog parents are discovering the simple joy—and surprising benefits—of making their own.
Homemade dog treats give you complete control over what goes into your pup’s body. No mystery ingredients, no unpronounceable preservatives, and no wondering if that “natural flavor” is actually natural. Just real food, made with love, tailored specifically for your furry best friend.
You’re about to discover seven proven recipes that work every single time. These aren’t complicated, chef-level creations that require special equipment or culinary school training. They’re straightforward, tested recipes that use ingredients you probably already have in your pantry. Even if you’ve never baked a day in your life, you can master these treats.
Each recipe delivers maximum tail wags with minimal effort. We’re talking about treats you can whip up during a lazy Sunday afternoon, between Zoom calls, or while your kids help measure and mix. The best part? Your pup won’t just love them—they’ll actually benefit from the wholesome, nutritious ingredients in every bite.
Ready to become your dog’s favorite person? Let’s get started.
Why Homemade Dog Treats Are a Game-Changer for Your Pup
Complete Control Over Ingredients
When you pick up a bag of commercial dog treats, you’re essentially trusting a manufacturer you’ve never met to feed your beloved pet. The ingredient list reads like a chemistry experiment: BHA, BHT, propylene glycol, artificial colors, and “meat by-products” that could mean just about anything.
Making treats at home changes everything. You become the quality control expert, the ingredient selector, and the safety inspector all rolled into one. You know exactly what’s going into each batch because you’re the one measuring, mixing, and baking.
This level of control becomes essential if your dog has allergies or a sensitive stomach. Commercial treats often contain common allergens like wheat, corn, soy, or specific proteins that trigger reactions. When you make treats yourself, you can customize recipes to avoid your dog’s specific triggers. Got a pup who can’t handle chicken? Skip it. Need grain-free options? Use coconut flour or chickpea flour instead. The power is entirely in your hands.
Cost-Effective and Budget-Friendly
Let’s talk money. A small bag of premium dog treats at the pet store easily costs $8-15 and might last a week or two depending on how often you reward your pup. Do the math over a year, and you’re spending hundreds of dollars on treats alone.
Homemade treats flip this equation completely. The ingredients for a batch of peanut butter biscuits—oats, peanut butter, and a banana—cost maybe $3 total and yield enough treats to last weeks. Sweet potato chews? One large sweet potato costs about $2 and makes dozens of long-lasting chews.
If you have multiple dogs, the savings multiply dramatically. Instead of buying three or four bags of treats every grocery run, you’re making one big batch that keeps all your pups happy. The ingredients are simple pantry staples you probably already buy for your own meals anyway.
Bonding and Quality Time
Beyond the practical benefits, there’s something deeply satisfying about creating food for someone you love. The process of measuring ingredients, rolling out dough, and cutting shapes becomes a meditation, a way to slow down and focus on caring for your pet.
This activity offers a perfect opportunity to involve kids in pet care responsibilities. Children love using cookie cutters, especially bone-shaped ones, and watching treats bake in the oven. They learn about nutrition, following recipes, and the satisfaction of making something useful. Plus, they get to be the hero when they hand out the finished treats.
Your dog picks up on the extra attention and care you’re putting into their snacks. They watch you work, smell the amazing aromas filling the kitchen, and associate you with all those wonderful feelings. It strengthens your bond in ways that simply opening a store-bought bag never could.
Essential Ingredients and Kitchen Tools You’ll Need
Pantry Staples for Healthy Dog Treats
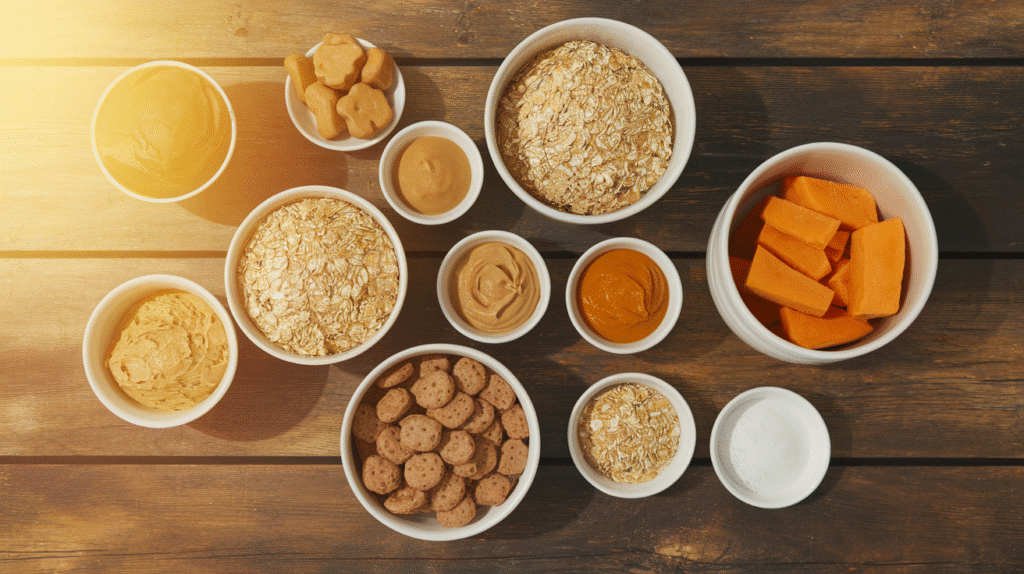
Before you start baking, let’s stock your pantry with dog-friendly ingredients. The good news? You likely already have most of these on hand.
Peanut butter stands as the star ingredient in many dog treat recipes, but here’s the critical safety tip: always check the label for xylitol. This artificial sweetener is extremely toxic to dogs, even in small amounts. Look for natural peanut butter with just peanuts (and maybe salt) on the ingredient list. Brands like Skippy Natural, Jif Natural, or store brands labeled “natural” work perfectly.
Oats and whole wheat flour provide the structure for most biscuit recipes. Oats add fiber that supports healthy digestion, while whole wheat flour creates the right texture for crunchy treats. If your dog needs grain-free options, substitute with coconut flour, chickpea flour, or almond flour.
Sweet potatoes and pumpkin deliver nutritional powerhouses packed with vitamins A and C, fiber, and antioxidants. Sweet potatoes work beautifully for simple dehydrated chews, while canned pumpkin (not pumpkin pie filling!) adds moisture and digestive benefits to baked treats.
Safe add-ins expand your recipe possibilities: bananas add natural sweetness and potassium, apples provide crunch and freshen breath, carrots offer beta-carotene and satisfying texture, and eggs bind ingredients while adding protein.
Simple Kitchen Tools
You don’t need a professional bakery setup to make amazing dog treats. These basic tools get the job done perfectly:
Standard mixing bowls and measuring cups handle all the prep work. A set of dry and liquid measuring cups ensures accurate proportions every time.
Cookie cutters make treat-making fun, especially bone-shaped ones that scream “dog treat!” But honestly, you can skip these entirely and just roll the dough into balls or cut it into squares with a knife. Your dog doesn’t care about aesthetics.
Baking sheets lined with parchment paper prevent sticking and make cleanup effortless. If you’re making dehydrated treats, a simple oven or a dehydrator works great.
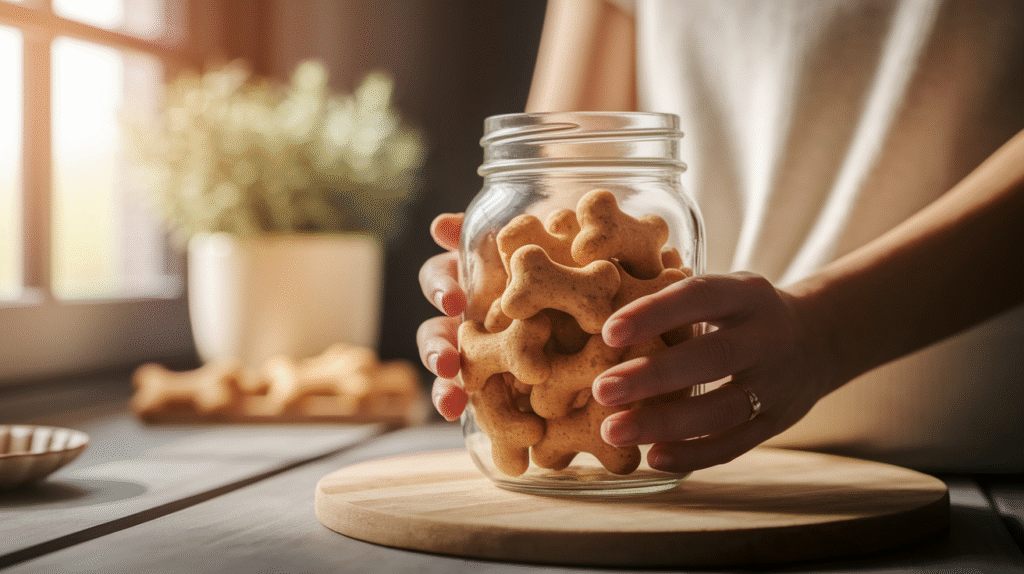
Airtight storage containers keep treats fresh between batches. Glass containers, plastic storage bins, or even resealable bags work fine.
Quick Safety Tips Before You Start
Let’s cover the non-negotiables. These ingredients are toxic to dogs and must never appear in homemade treats: chocolate (contains theobromine), grapes and raisins (cause kidney failure), onions and garlic (damage red blood cells), macadamia nuts (cause weakness and tremors), and xylitol (causes liver failure and severe hypoglycemia).
Portion control matters more than most people realize. Treats should make up no more than 10% of your dog’s daily caloric intake. A 50-pound dog needs about 1,000 calories per day, meaning treats should total around 100 calories maximum. This prevents weight gain and ensures your pup still eats their balanced meals.
When in doubt, consult your vet. If your dog has diabetes, kidney disease, pancreatitis, or other health conditions, check with your veterinarian before introducing new treats. They can guide you on appropriate ingredients and portion sizes for your dog’s specific needs.
7 Easy Homemade Dog Treat Recipes Your Pup Will Love
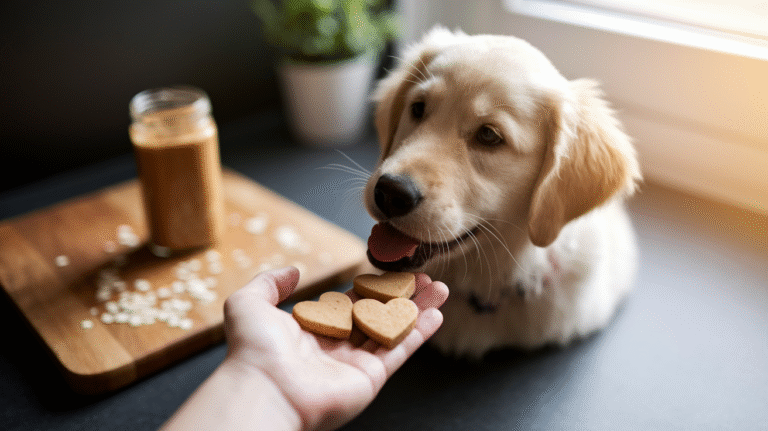
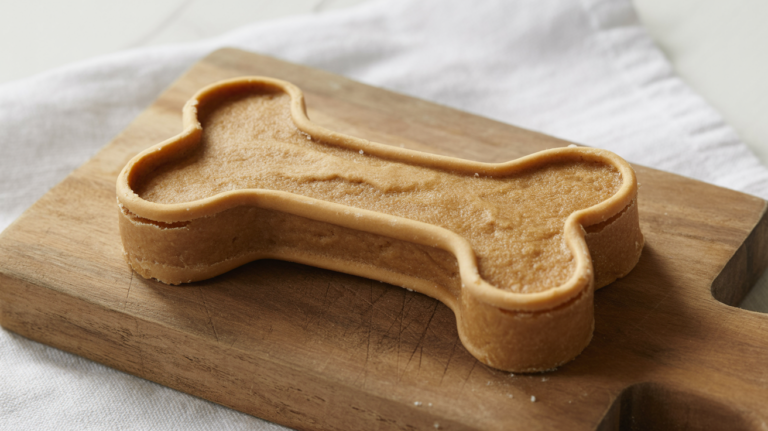
Recipe 1: 3-Ingredient Peanut Butter Dog Biscuits
This recipe is the ultimate starting point for beginners. Three simple ingredients, one bowl, minimal mess, and treats your dog will go absolutely crazy for.
Ingredients: – 1 ripe banana, mashed – 1 cup natural peanut butter (xylitol-free) – 2 cups oats (blended into flour or use whole)
Instructions: Mix all ingredients in a bowl until they form a dough. Roll out to about ¼-inch thickness on a floured surface. Cut into shapes using cookie cutters or a knife. Place on a parchment-lined baking sheet. Bake at 350°F for 15-20 minutes until golden and firm. Let cool completely before serving.
Storage: These treats stay fresh in an airtight container at room temperature for up to 2 weeks, or freeze them for up to 3 months.
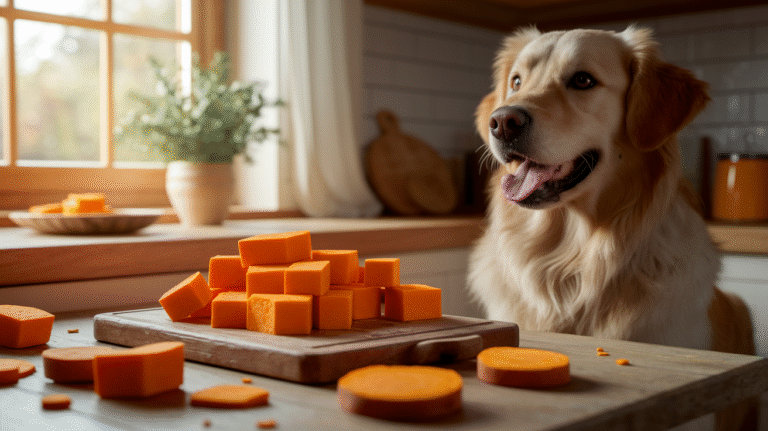
Recipe 2: Sweet Potato Chews (No Baking Required!)
If you want the easiest possible recipe that requires zero baking skills, this is it. One ingredient, one sweet potato, and you’ve got healthy chews that keep dogs entertained for ages.
Ingredients: – 1-2 large sweet potatoes
Instructions: Wash sweet potatoes thoroughly. Slice into ¼-inch rounds or strips (strips work better for smaller dogs). Arrange on a baking sheet without overlapping. Bake at 250°F for 2-3 hours, flipping halfway through, until dried and slightly leathery. Alternatively, use a dehydrator at 135°F for 6-8 hours.
Why dogs love them: The chewy texture satisfies their natural urge to gnaw, and the concentrated sweetness makes them irresistible. These chews also support dental health by scraping away plaque as dogs work through them.
Recipe 3: Pumpkin & Oatmeal Snack Sticks
Perfect for dogs with sensitive stomachs, this recipe combines the digestive benefits of pumpkin with the fiber of oats. The stick shape makes them easy to break into training-sized pieces.
Ingredients: – 1 cup canned pumpkin (not pie filling) – 2 cups oat flour (blend oats in a food processor) – 1 egg
Instructions: Mix all ingredients until combined. Roll dough into thin logs about the thickness of your finger. Cut into 2-3 inch pieces. Place on a parchment-lined baking sheet. Bake at 350°F for 25-30 minutes until firm. Cool completely.
Pro tip: These freeze beautifully. Make a double batch and freeze half for quick grab-and-go treats during training sessions.
Recipe 4: Apple Peanut Butter Crunchers
The combination of apple and peanut butter creates a crunchy treat with natural breath-freshening properties. Dogs go wild for the texture and flavor.
Ingredients: – 1 apple, finely diced (remove seeds and core) – ½ cup natural peanut butter – 1 ½ cups whole wheat flour – ¼ cup water
Instructions: Mix peanut butter and water until smooth. Add diced apple and flour, mixing until dough forms. Roll out to ¼-inch thickness. Cut into shapes. Bake at 350°F for 20-25 minutes until crunchy. Cool completely before serving.
Nutritional bonus: Apples contain malic acid, which naturally helps clean teeth and freshen breath with every crunchy bite.
Recipe 5: Frozen Yogurt Pupsicles
When summer heat hits, your dog needs cooling relief just like you do. These frozen treats take 5 minutes to prep and deliver refreshing satisfaction on hot days.
Ingredients: – 2 cups plain Greek yogurt (no xylitol or artificial sweeteners) – 1 ripe banana, mashed – Optional: 2 tablespoons peanut butter or fresh berries
Instructions: Mix all ingredients until smooth. Pour into ice cube trays, silicone molds, or small paper cups. Freeze for at least 4 hours. Pop out and serve on hot days.
Flavor variations: Try mashed strawberries, blueberries, or a spoonful of pumpkin. You can even add a small dog biscuit in the center as a surprise.
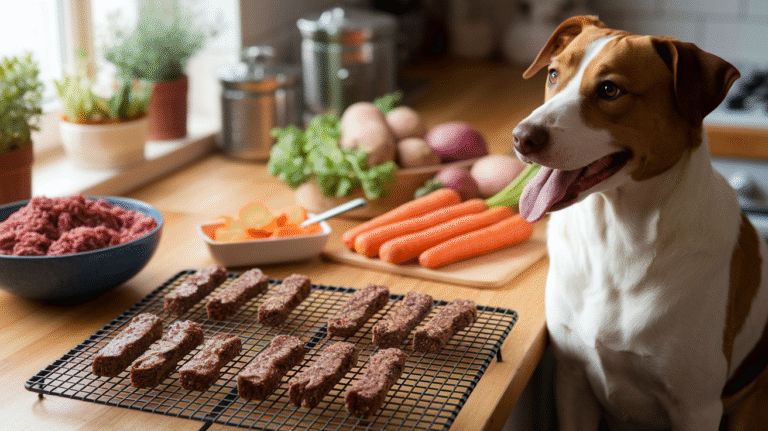
Recipe 6: Bacon & Cheese Training Treats
High-value treats make training sessions dramatically more effective. These tiny, flavor-packed bites motivate even the most stubborn dogs to focus and learn.
Ingredients: – 3 strips cooked bacon, finely chopped – ½ cup shredded cheddar cheese – 1 cup whole wheat flour – 1 egg – 2 tablespoons water
Instructions: Mix all ingredients until combined. Roll dough very thin (⅛ inch). Cut into tiny squares (½ inch) for training. Bake at 350°F for 15-20 minutes until crispy. Cool completely.
Training tip: Keep these in your pocket during training sessions. The small size lets you reward frequently without overfeeding, and the strong smell keeps your dog engaged.
Recipe 7: Carrot & Banana Soft Bites
Senior dogs and puppies need gentler treats that won’t hurt sensitive teeth or developing jaws. These soft bites deliver nutrition without the crunch.
Ingredients: – 1 cup finely grated carrot – 1 ripe banana, mashed – 1 ½ cups oat flour – 1 egg
Instructions: Mix all ingredients until well combined. Drop small spoonfuls onto a parchment-lined baking sheet. Bake at 325°F for 12-15 minutes until just set but still soft. Cool before serving.
Perfect for: Dogs recovering from dental procedures, senior dogs with missing teeth, or puppies who need softer textures.
Pro Tips for Making, Storing, and Serving Homemade Dog Treats
Baking and Preparation Secrets
The difference between good treats and great treats often comes down to technique. Here’s what works consistently.
Texture control: For crunchy treats, bake longer at a lower temperature. After the initial baking time, turn off the oven and let treats sit inside for an additional 30 minutes to completely dry out. For soft treats, reduce baking time and remove while centers are still slightly moist.
Even baking: Roll dough to consistent thickness throughout. Uneven thickness means some treats burn while others stay undercooked. Use a rolling pin with thickness guides, or stack rulers on either side of your dough as guides.
Batch preparation: Double or triple recipes and freeze extras. Most dough freezes beautifully for up to 3 months. Thaw overnight in the refrigerator before baking. Alternatively, bake everything at once and freeze finished treats.
Storage Solutions for Maximum Freshness
Proper storage extends treat life and maintains quality. Here’s the breakdown by treat type:
Room temperature storage: Hard, completely dried treats (like sweet potato chews and crunchy biscuits) last 2-3 weeks in an airtight container at room temperature. Add a food-safe silica packet to absorb excess moisture.
Refrigeration: Soft treats or those with higher moisture content (like soft bites and anything with fresh fruit) last 1-2 weeks in the refrigerator. Store in airtight containers to prevent them from absorbing other food odors.
Freezing: Almost all homemade treats freeze beautifully for 2-3 months. Freeze in single layers on baking sheets first, then transfer to freezer bags. This prevents treats from freezing into one giant clump. Thaw at room temperature for 15-20 minutes before serving.
Signs of spoilage: Discard treats that develop mold, smell off, or become excessively soft or sticky. When in doubt, throw it out.
Serving Suggestions and Portion Guidelines
Size matters when it comes to treats. A Great Dane and a Chihuahua need vastly different portion sizes.
By weight guidelines: – Small dogs (under 20 lbs): 1-2 small treats per day – Medium dogs (20-50 lbs): 2-4 medium treats per day – Large dogs (50+ lbs): 3-6 treats per day
Break larger treats into smaller pieces for training sessions. One biscuit can become 10-15 training rewards when broken up.
Creative serving ideas: Stuff soft treats into puzzle toys for mental stimulation. Freeze treats in ice cubes for summer enrichment. Crumble crunchy treats over meals as a food topper. Use high-value treats (like bacon-cheese) exclusively for training to maintain their special status.
Make it special: Don’t just hand out treats randomly. Use them to reward good behavior, celebrate training victories, or create special bonding moments. The ritual of earning and receiving treats strengthens your relationship and reinforces positive behaviors.
Final Thoughts
Making homemade dog treats transforms from a nice idea into a rewarding practice once you realize how simple it actually is. These seven recipes prove you don’t need professional baking skills, expensive ingredients, or hours of free time to create treats your dog will love.
You’ve now got everything you need: recipes that work, techniques that deliver consistent results, and storage solutions that keep treats fresh. More importantly, you understand why homemade treats matter—they give you complete ingredient control, save significant money, and create meaningful bonding experiences with your pup.
The ultimate expression of love for your dog is knowing exactly what you’re feeding them. No mystery ingredients, no questionable preservatives, no wondering if that treat is actually healthy. Just real food, made with care, designed specifically for your best friend’s happiness and health.
Pick one recipe from this list and make it this weekend. Start with the 3-ingredient peanut butter biscuits if you want the easiest possible introduction. Watch your dog’s reaction when you pull that first batch from the oven. That tail-wagging, eye-sparkling, whole-body-wiggling excitement tells you everything you need to know.
Your pup deserves treats made with love, and you deserve the satisfaction of providing them. Get in the kitchen and start creating—your furry friend is waiting.
We’d love to hear from you! Which recipe are you trying first? Do you have a favorite homemade treat your dog goes crazy for? Share your success stories, variations, and photos in the comments below. Let’s build a community of dog parents who prioritize healthy, homemade nutrition for our pups.